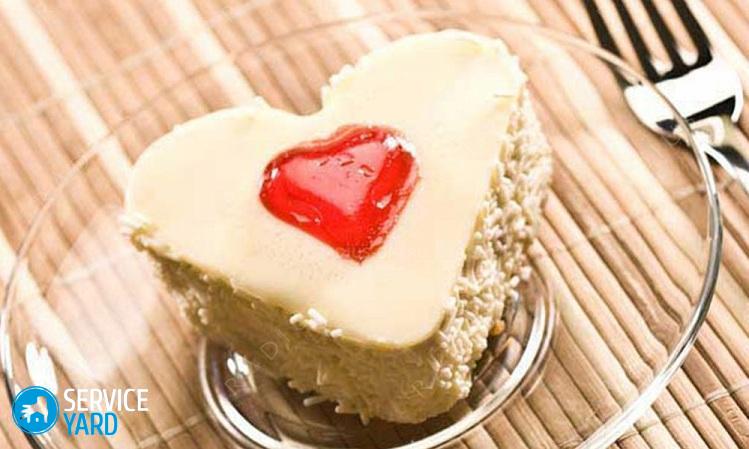
Pastries in the shape of a heart. Heart-shaped cake - detailed recipe
How the cake came to be
By calling cake the king of all dishes, we hit the target. Each of us, present at the festive table, eagerly awaits the culmination of the treats - dessert, saving a place for it in our tummy. Focusing on culinary dictionaries, information about the origin of cakes comes up, but it is amusingly divided into many interesting theories:
- Historians attribute the origin of the word cake to XIII century, and the first confectioners are considered to be the Egyptians, who in the distant past baked bread sweetened with honey with the addition of nuts or dried fruits.
- There are also legends about sweet Italian pies, as the “ancestors” of modern cakes, and the famous proverb “There is no arguing about tastes” is interpreted in Italian as “There is no arguing about cakes.”
- The East can also be considered the founder of the kings of all dishes, with its enchanting fragrant sweets, using milk, honey and sesame seeds, reminiscent of modern cakes in their shape.
Theories are theories, but you can’t argue with facts. Based on confirmed information about French confectioners, who can be called with 100% certainty the founders of the world fashion for desserts, we will consider France main country all cakes, such as sponge cake, meringue, etc. Show off your confectionery masterpieces, which are considered an integral part of any festive table Nowadays it may be in Russia, but for a long time in Rus' it was customary to serve only sweet and beautifully decorated pies for celebrations.
Time passed... Our bakers borrowed well-known world recipes, supplemented them with their own variations, thereby transforming the pies into holiday cakes of various shapes and symbols. For several years now, heart-shaped cakes have been especially popular, photos of which appear on the pages of culinary blogs on the World Wide Web. We decided to keep up with fashion and create this sweet miracle, putting all our love for confectionery into it and at the same time tell KhozOboz readers how to bake a heart cake.
Cake ingredients
On the cakes:
- Butter (country) – 150 grams
- Eggs - 3 pcs.
- Sugar - about a glass
- Baking powder – 3 grams
- Flower honey - 50 grams
- Flour - a little more than a glass
For impregnation:
- Flower honey – 1 teaspoon
- Water – 0.5 cups
- Sugar – 1/3 cup
For the filling:
- Sour cream – 150 grams
- Nuts (hazelnuts or almonds) – 200 grams
- Condensed milk (boiled) - 0.5 cans
For decor:
- Dark chocolate – 1 bar
- White chocolate – 1 bar
- Waffle decorations – 0.5 boxes
DIY heart cake
- Let's prepare three containers, one of which (with water) will boil on the stove, creating a steam bath for the second, and the third will serve for mixing eggs with sugar, which we will do at the initial stage.
- Beat with a blender or mixer until foamy, enough long time.

- Add honey to the grated butter in the second bowl.
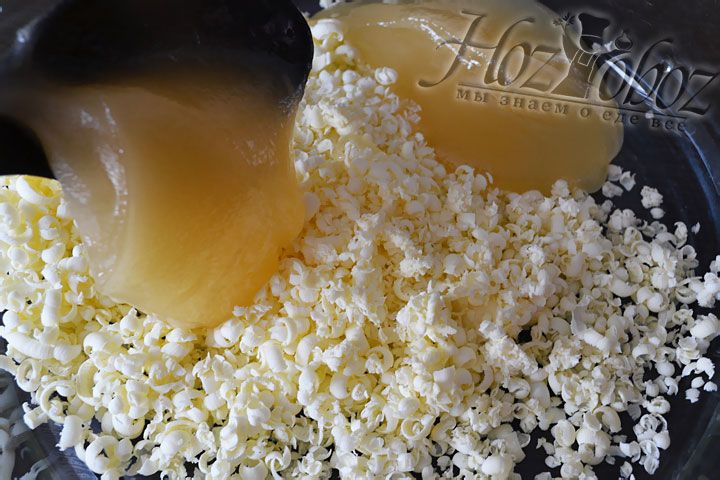
- Melt the contents in a steam bath with stirring, adding baking powder.
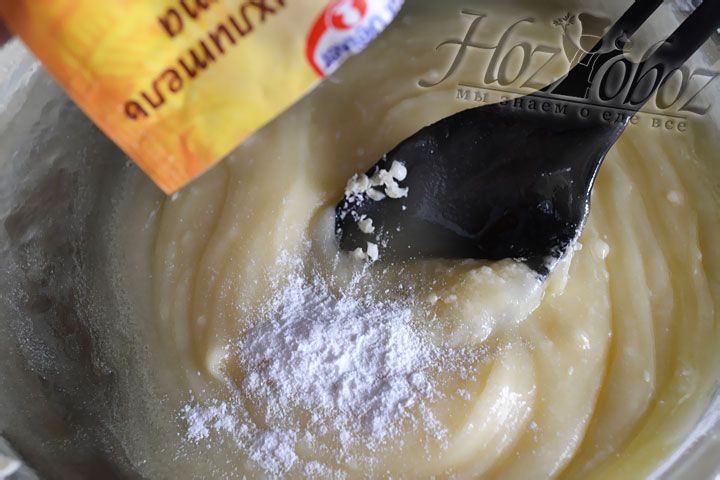
- Mix the egg mixture with honey and cool.
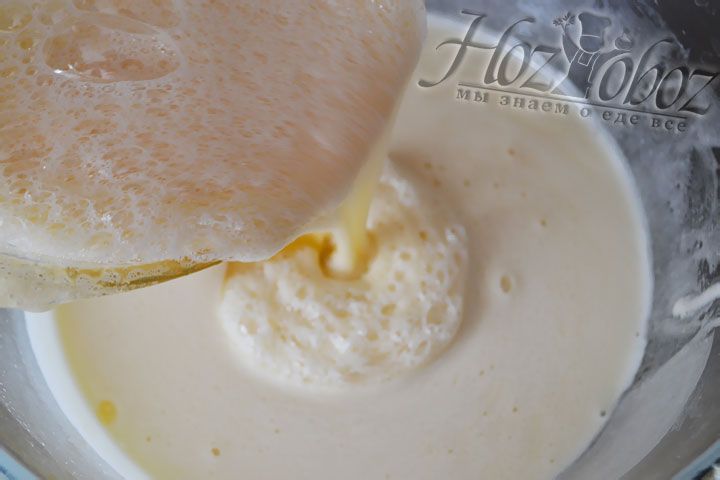
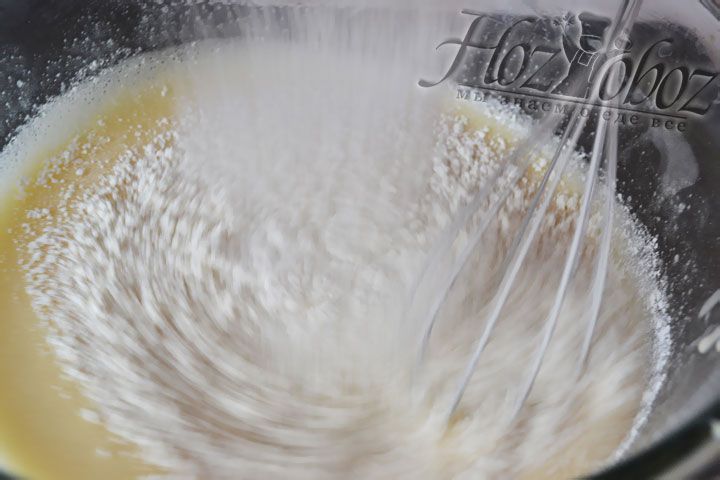
- We supplement our future dough with sifted flour, so that the composition is definitely liquid, for ease of use with our silicone mold.
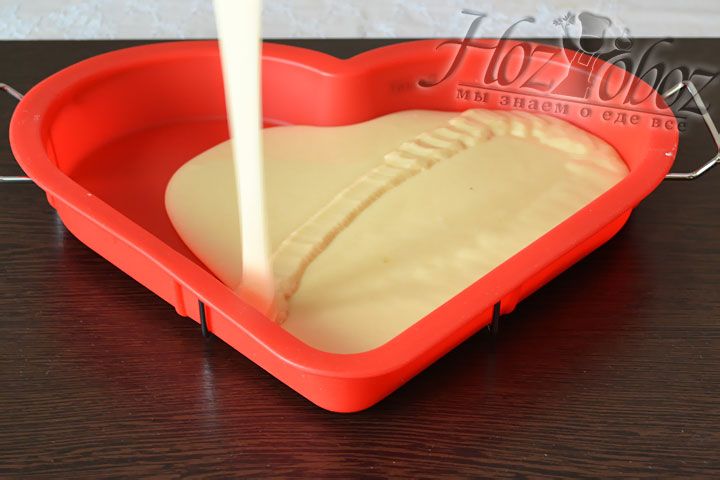
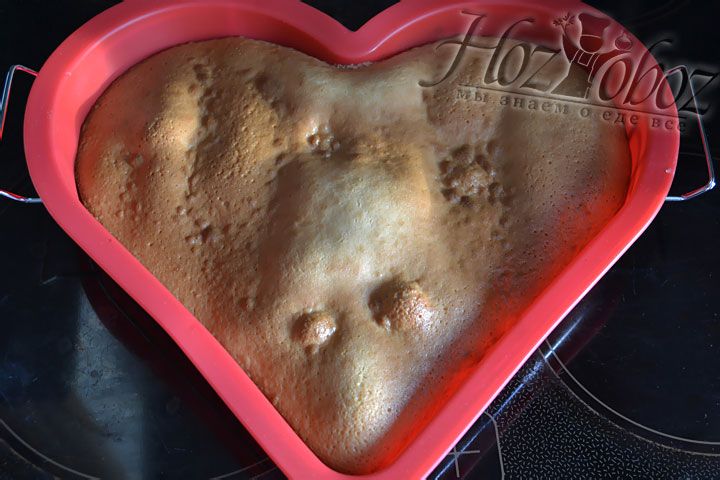
- Fill half the mold, leaving a little more dough for another cake layer, which, if possible, should be baked at a lower temperature and not browned too much.
- Bake the first cake for no more than 20 minutes at 180 °C, checking readiness (the dough does not stick) using a match or knife, piercing the surface.
- We cut the pastry into two parts, trying to do it in the middle, and as the other semi-finished product is prepared, into two more. There are 4 pieces in total, one of them will be made wider, for use as: the main bottom layer.
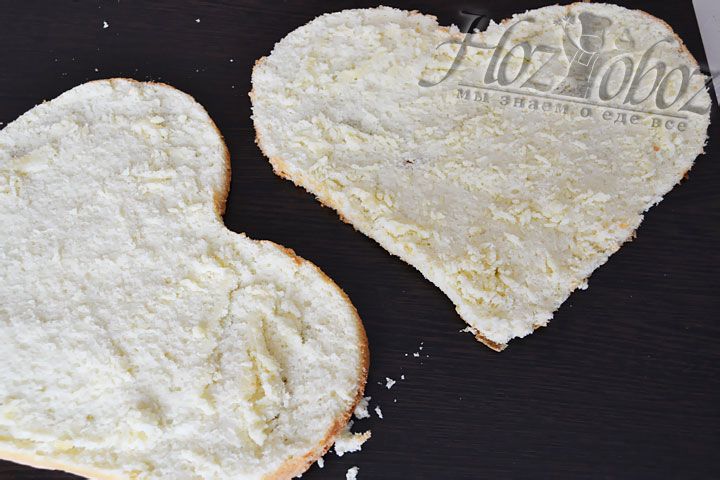
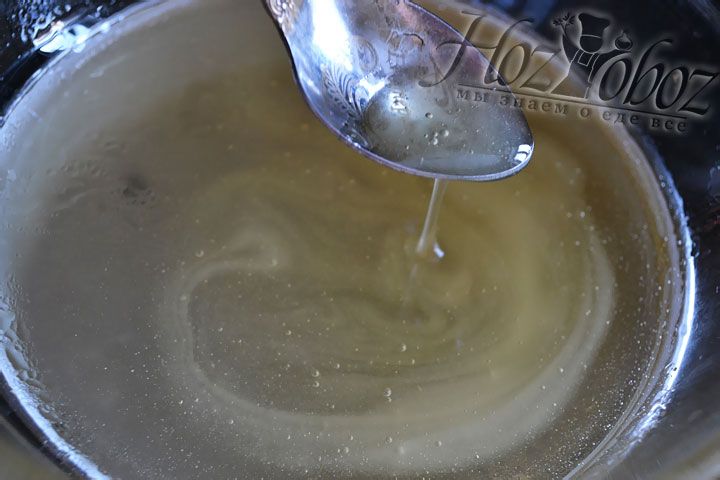
- In a steam bath, dissolve honey and sugar in water - you will get an excellent impregnation for cakes. Very soon, the heart-shaped cake will take on its usual shape, but for now these are individual shaped hearts that need (optional), in our opinion, to be soaked in honey-sugar syrup.
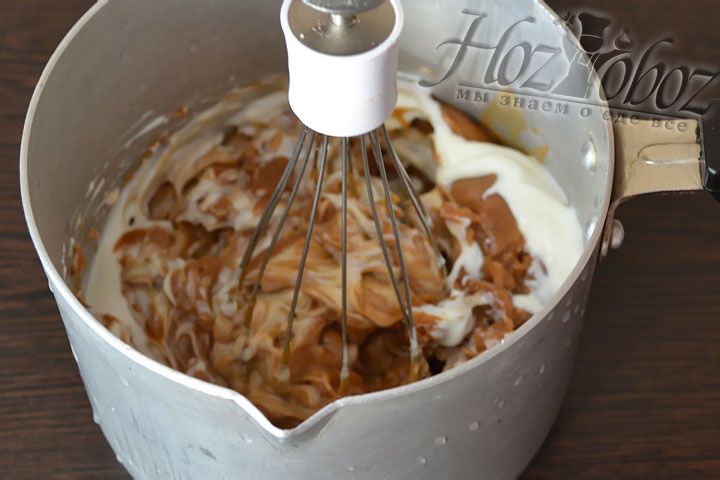
- While our 4 halves are saturated with the sweet water that we provided them with lightly, let’s make the cream for layering the cakes. Combine and mix some of the sour cream with condensed milk with a mixer so that you get a little more of the second ingredient. When finished, put it in the refrigerator.
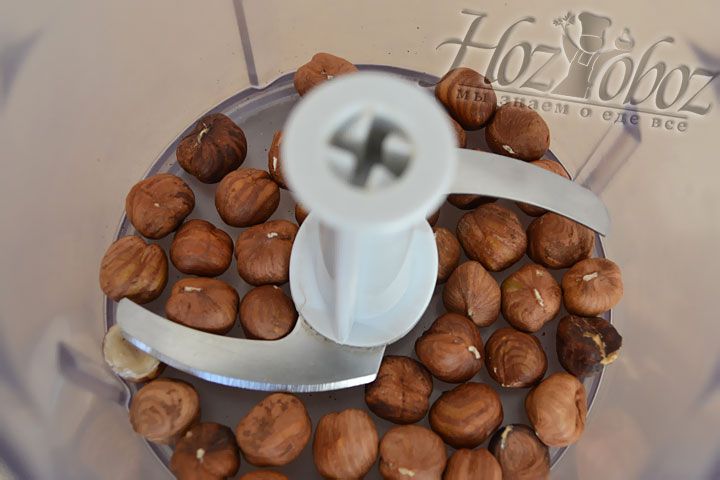
- The nuts for sprinkling the sides and cakes also need to be prepared and for this we will crush them in a blender, but the main thing is not to overdo it so that you don’t end up with crumbs. We will try to save tiny pieces of nut.
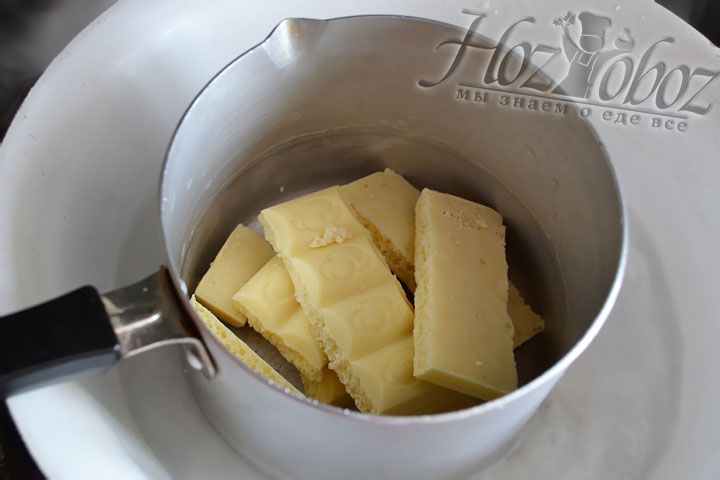
- Making sweet cake decor is most interesting moment. This recipe will use chocolate, which must be melted in a steam bath, and the first test subject can be considered white chocolate, which we will try to transform into a bow.
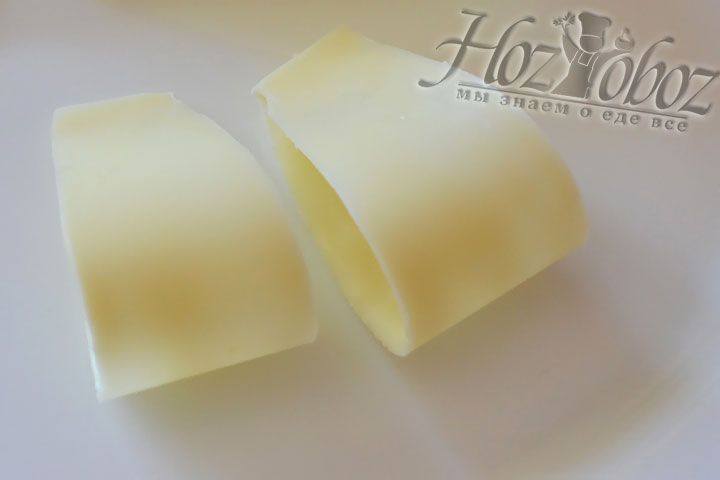
- Apply the sticky melted mixture with a brush or spoon onto the pre-prepared stencils from a thick file, being careful not to go over the edges. We got one large blank (ribbon) and 5-6 small ones (bow petals). The size can be varied at your discretion. We secure the edges of the smaller figures with clothespins and put them away. freezer.

- After 30 minutes, you can easily remove the template itself, but this must be done immediately before applying the decor to the surface of the heart-shaped cake; the photo is attached for clarity only. Please remember that chocolate melts quickly. warm hands.
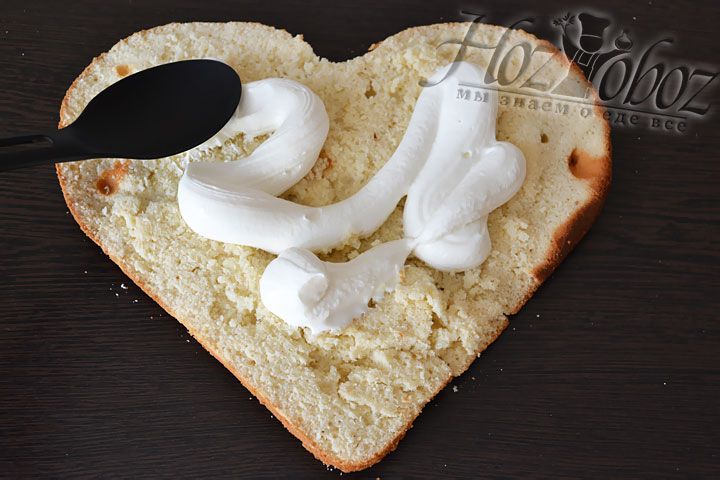
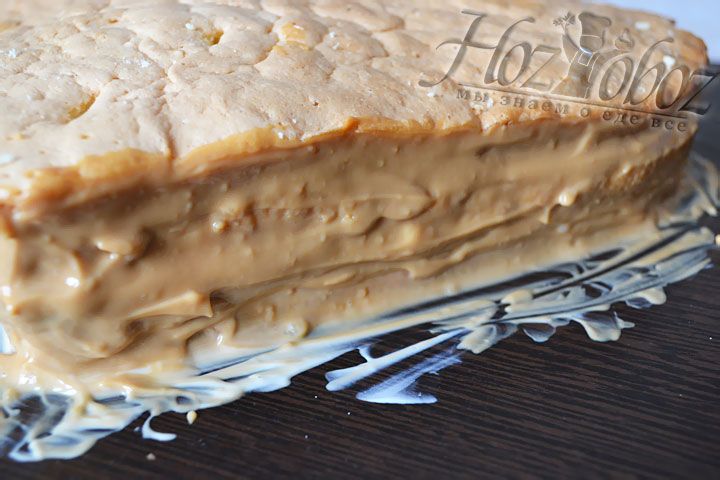
- The process of applying cream to the cakes is quite quick even with the use of an ordinary spoon, but you can not be too lazy and squeeze the filling out of the bag, thereby evenly distributing it into the recesses of the slices. Grease the lower part of the heart with sour cream and leave it in the room for 30 minutes.
- Sprinkle the sour cream soaked cake with nuts.
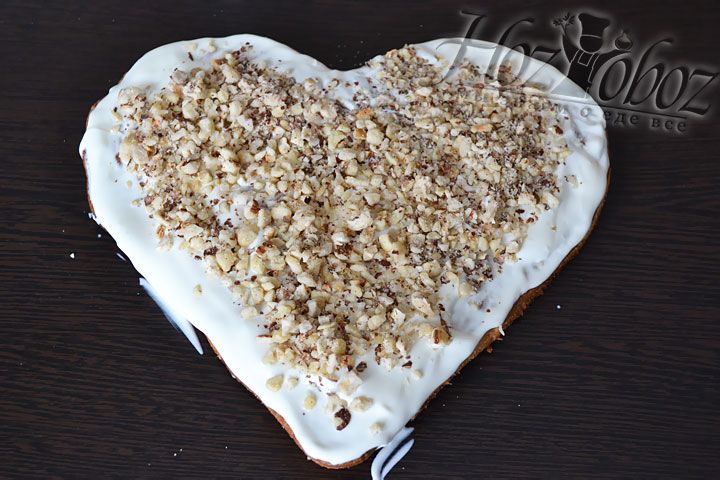
- Apply condensed cream and a second nut layer. Grease the third cake in the same way as the second.
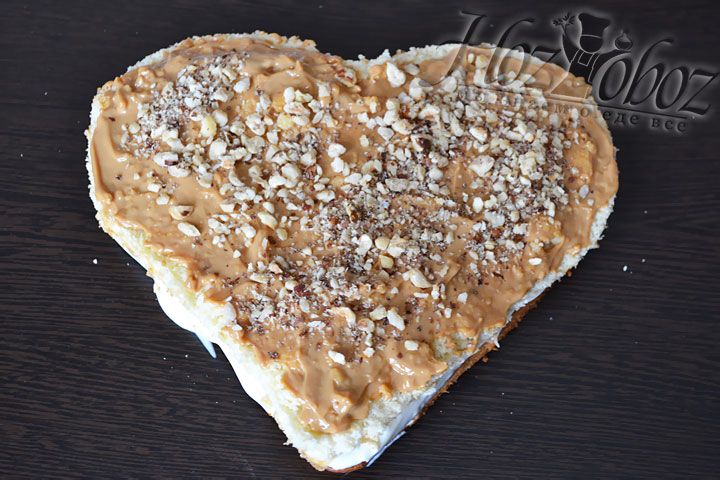
- We close our sweet “burger” with the top half, treating the sides with the remaining cream. Place in the refrigerator to cool.
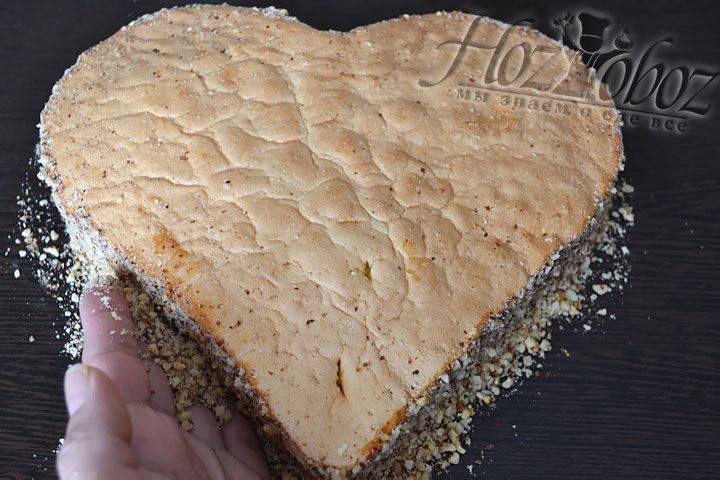
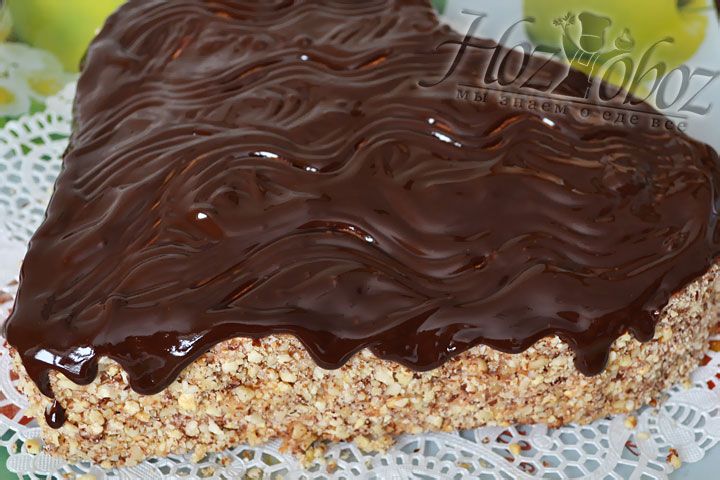
- The heart cake is getting closer and closer to completion and by applying crushed nuts to the cream filling, we can say that the main and difficult part is already behind us.
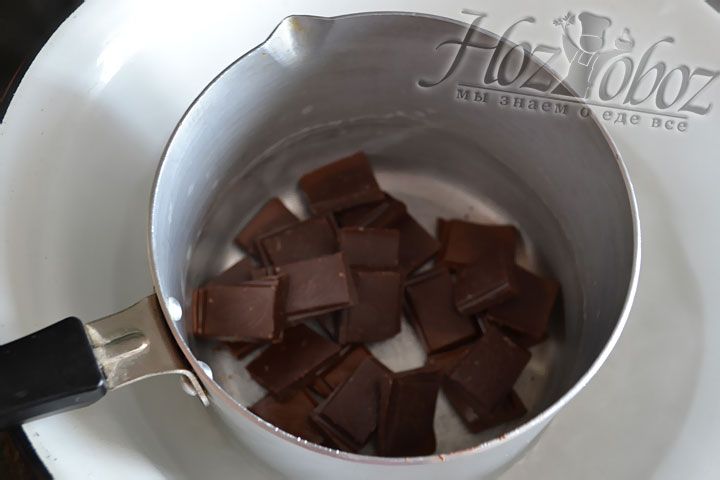
- Melt the dark chocolate in the double boiler we love in this recipe. It is very convenient to break the tiles into squares.
- As the chocolate turns into a liquid state, you need to add a little butter, but do not overdo it. The glaze with which we will cover the heart cake, as planned, should acquire a matte shade after cooling and remain that way until serving.
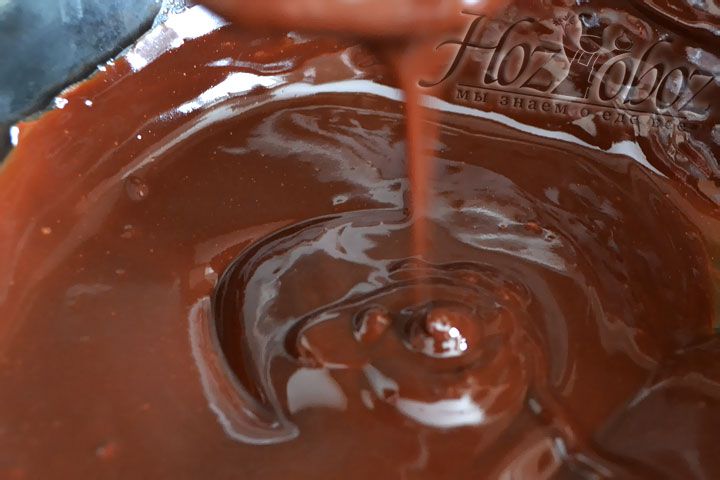
- We distribute the liquid chocolate over the entire surface of the heart so that the droplets flow onto the walls, and for convenience we use a bag with a hole. Place in a cool place for 30 minutes.
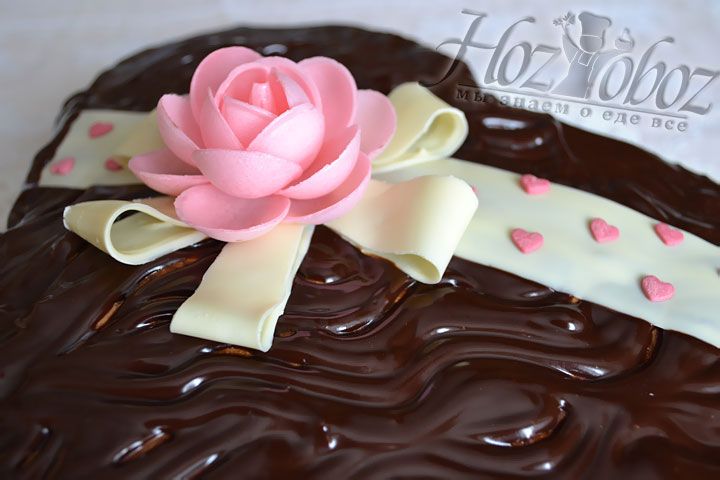
- The culmination of the process of making a heart-shaped cake, photos of which are presented in large numbers in this recipe, will be considered a white chocolate bow. Your little and “adult” children will eat it with great pleasure. Carefully remove the file from the frozen figures one by one and quickly place the decor on top of the chocolate glaze.

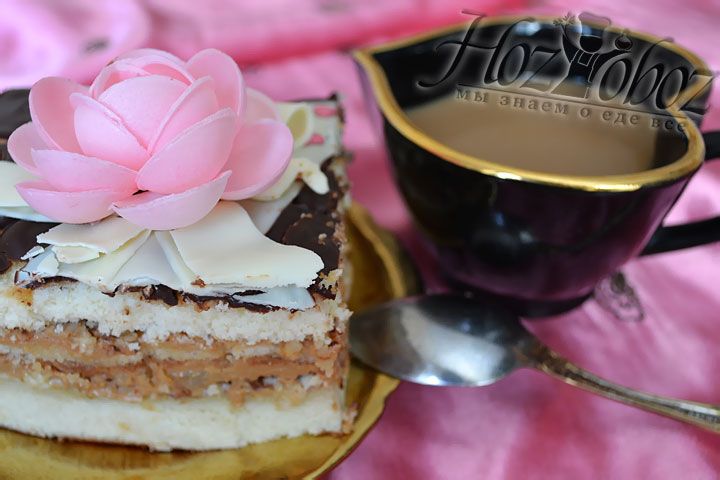
- We complete the decoration with a waffle flower and hearts. Store the finished cake in a cool place until serving.
- A master class on how to bake a heart cake, and indeed any other cake - for a home pastry chef, can be considered the highest “pilotage” of culinary abilities, cooking really takes a lot of time and effort, but the difficulties all remained in the process and now there is only pride in the beauty of the resulting sweet the author is overwhelmed by the treats.

- The purpose of the cake is that the hostess holds the heart in big secret, but if she gets the most delicious morsel with a rose, in addition to her favorite coffee drink, then there will probably be no limit to joy and happiness.
Modern confectionery fashion trends dictate such a varied combination of cakes, creams and decorations that all that remains is to give free rein to your imagination and create, create, create...
- If we used honey cakes to make a heart-shaped cake, this does not mean that sponge dough would not be suitable. The sponge cake goes well with chocolate glaze, which means it would fit perfectly as an option for variety in the recipe.
- Airy cream instead of condensed cream would have made the cake lighter. We will definitely implement these experiments another time. Now we have just such a cake, very high in calories, but the most delicious!
Benefits of cake
You don’t have to worry about the extra calories of truly high-calorie baked goods with chocolate icing. Good mood and a charge of vivacity from a delicacy, how can it be compared with exhausting hunger strikes, which will not bring anything good for nervous system. Those with a sweet tooth are the most cheerful people in the world, so let us always smile, especially since with the onset of spring we want this!
Delicious pastries are one of the most favorite treats on any holiday table. Different shapes and colors, cupcakes, pies, cakes, muffins, cookies - you know how to cook a lot of these and love to cook them. Sweet, salty, fruit, vegetable, with or without fillings - there is always room for your imagination to run wild. But still, one of the important tools remains the baking dish, because it is the one that creates fun and simple figures for your culinary recipes. Often ready-made forms are not always at hand, and sometimes it’s just for themed parties and Birthdays for children require forms in the form of letters, numbers, flowers, all kinds of animals. In our article we will help you understand all the intricacies of how to make a heart shape for baking and other shapes with your own hands. We hope that our tips and tricks will help you create a real holiday for your family and friends. The best part is that we will create all our forms from available and sometimes not entirely necessary objects and materials.
Tin can mold
So, to create a container for baking a cake with your own hands, we will need the following materials:
- several tin cans;
- ruler and pliers;
- metal scissors.
Let's get started:
- Cut off the top and bottom of the can with scissors.
- We cut the resulting cylinders lengthwise so that we end up with flat sheets of tin.
- Afterwards we cut them into equal strips approximately 15 cm wide.
- Using pliers, we connect these cavities to each other until we get the shape of the size we need.
A similar baking dish made from a jar can remain flat for baking a round cake or become patterned - it all depends on your imagination.
Important! We need to carefully secure the edges to make it easier to remove our dessert from the mold after baking. This baking dish can be used many times.
How to make heart blanks for baking from scrap materials?
We associate each holiday with certain symbols: Birthday - candles, Wedding Day - rings, and we most often use hearts on Valentine's Day. And of course, cookies or gingerbread in the shape of hearts will be sweet
reminders of your feelings.
Materials for work:
- sharp scissors or stationery knife;
- empty tin can;
- ruler;
- marker.
Let's start the master class:
- Using a utility knife or scissors, cut out the bottom and top part banks.
- We cut evenly along the perimeter - we get a rectangle.
- On it, with a marker, we mark the width of the stripes that we need, approximately 2-5 cm.
- We cut them and form a heart.
Important! You can use this DIY baking dish not only for direct baking; you can also use it to cut out figures from dough and other products. When forming the hearts, make sure that the colored part of the jar does not come into contact with the dough. For convenience, we recommend that you draw the desired design on a sheet of paper in advance - in this case, a heart, and use it to form a blank from a tin strip.
Round baking dish
The round shape remains an indispensable shape for our culinary experiments. And here is one way to make one yourself.
Materials for work:
- two empty plastic bottles 1.5 l each;
- large stapler;
- sharp scissors.
Master class:
- Using scissors, cut off the neck and bottom of the bottle.
- Then we cut along the entire length to get rectangular pieces.
- We fold them and secure them with a stapler.
- We bring the free edges together and connect them in the same way.
As a result, we get a springform pan for a round cake.
Important! It can be used to make no-bake desserts or to press out round sponge cakes.
Baking vegetables
For your vegetable side dishes, we also have advice: how and from what to make a mold for such a dish.
Prepare the following materials:
- food cardboard;
- foil;
- food paper;
- scissors and stapler.
Let's get started:
- First, we cut out the bottom for the future shape.
- The rectangle should be large.
- We cut out strips from paper - the width should be slightly larger than the height of the cake. We connect them until the desired size is obtained.
- On the base you need to make small cuts along the bottom edge to secure the shape.
- We bend them and attach them to the base using a stapler.
Important! To prevent the dough from sticking, it is recommended to place parchment paper inside the resulting form.
DIY aluminum baking dish
One of the reliable and reusable options is an aluminum blank for cutting out cookies and any other baked goods. It's done quite quickly.
Important! Be sure to wear gloves before working with this material. Be careful not to cut yourself on the edges of the workpiece.
Materials for work:
- aluminum oven dishes;
- metal scissors;
- marker, pencil, ruler;
- clothespins;
- superglue;
- pliers;
- paper;
- thick gloves;
- rectangle of cardboard for strips 4 cm wide.

Master class:
- Remove the side edges of the mold. We attach a cardboard template (4 cm) and draw a stripe on an aluminum sheet with a marker.
- In the middle of the resulting rectangle we draw another line, we get two rectangles of 2 cm each. They will subsequently help us form the workpiece.
- We cut off the excess part of the sheet, leaving a rectangle.
- We bend the longitudinal edges of the sheet into the middle, where our center line runs.
- Then we fold the workpiece with the sharp ends inward.
- We smooth it with the handle of the scissors to even out our rectangle.
- We draw on paper a sketch of the shape we want to obtain.
- Next, we apply our aluminum tape and form a baking dish along the contour of the pattern.
- We seal the free ends with superglue and fix them with a clothespin until completely dry.
Important! Now you can safely use this form to cut out different cookies and arrange different themed holidays, because numbers, letters, a house, flowers - you can cut all this without any problems using your homemade templates.
Crystal glasses for decorating cookies
The simplest and quick way transform your baking dough and give it festive look- these are glasses or wine glasses, preferably with a pronounced pattern.
Materials you need:
- Dough;
- Glasses, wine glasses.
Master class:
- Roll out the dough - choose the thickness yourself.
- Using the bottom of the glasses, press the cookie dough into a round shape. Depending on what pattern you have on the bottom, we get such baked goods.
- Place them on a baking sheet and bake.
This is how, without any tricks, we got sweets that were interesting in shape.
Container for tartlets
A beautiful and very interesting form of baking is obtained in the form of bowls, which can be filled with fruit, vegetable, and cream fillings.
The following materials are needed:
- cupcake pan;
- dough.
Master class:
- Turn the muffin pan upside down.
- Roll out the dough into small round cakes.
- Wrap each shape in dough and smooth.
- Set to bake for the required time.
Fill the resulting tartlets to taste. You can decorate them with berries and a mint leaf.
We do the following:
- Cut the dough sheet into strips of 2-3 cm.
- We wrap the spoons folded in half with dough, forming a spiral.
- Place on a baking sheet and bake in the oven.
Paper baking dishes
Such preparation requires more time, but as a result you will be pleased with delicious cakes.
Prepare the following materials:
- food paper;
- scissors;
- water;
- metal base of any shape.
Master class:
- Cut the parchment piece into the desired shape.
- Apply several layers of wet paper and press carefully.
- Leave until completely dry.
- We separate the paper forms from the metal base, and we can safely start cooking.
From the many options that we have described for you above, we think you will be able to find something suitable for yourself. Try and experiment with different forms, it is quite possible that you will have your own original ways creating new and interesting options. Good luck!
1. First, prepare all the necessary products.
2. Chicken egg must be divided into yolk and white. The yolk will go into the dough, and the white will go into the glaze. 
3. Place the yolk and sugar in the bowl in which we will knead the dough. Rub very well. 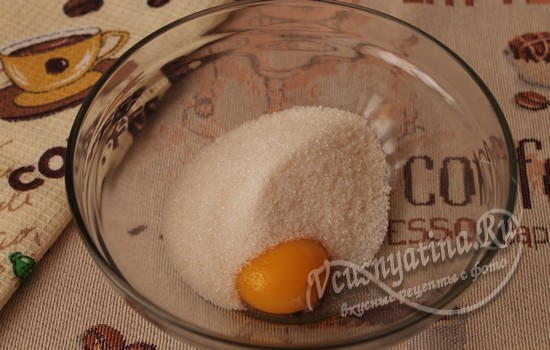
4. Next, add cinnamon. 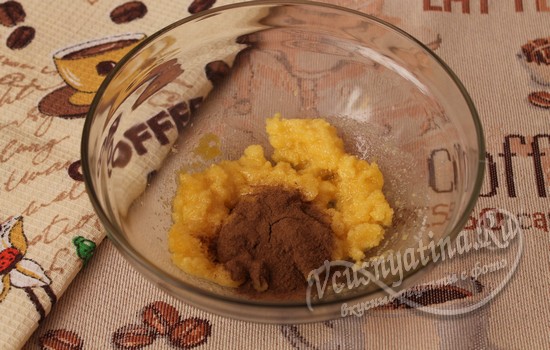
5. Add butter, always softened, room temperature. Mix well. 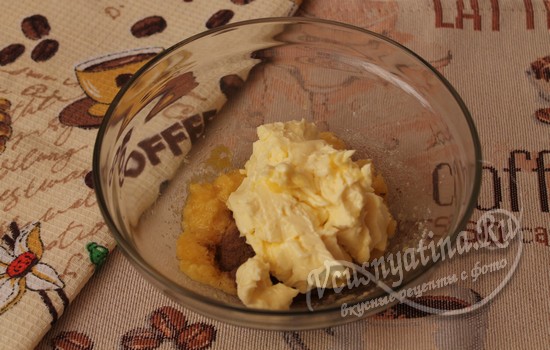
6. Next, add sifted flour in small portions. 
7. The resulting cookie dough should be soft, tender, but not elastic. It will be a little crumbly, but easy to work with. 
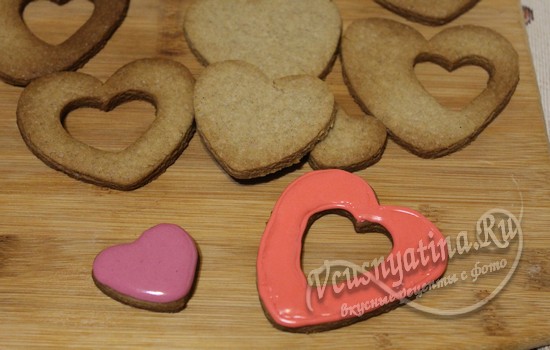
8. Roll out the dough into a layer 0.5 cm thick and, using a special heart-shaped mold, cut out the blanks of the future cookies. 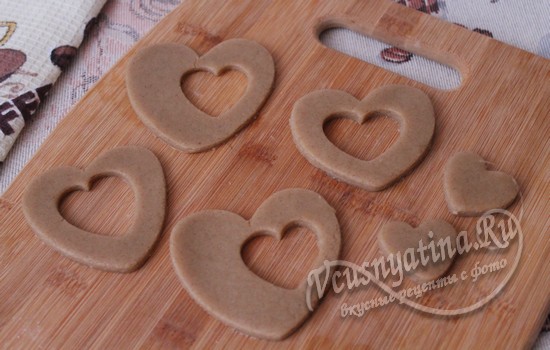
9. Take a baking sheet, cover it with parchment paper for baking and lay out the raw cookies. Bake in the oven at 200 degrees for 15 minutes. 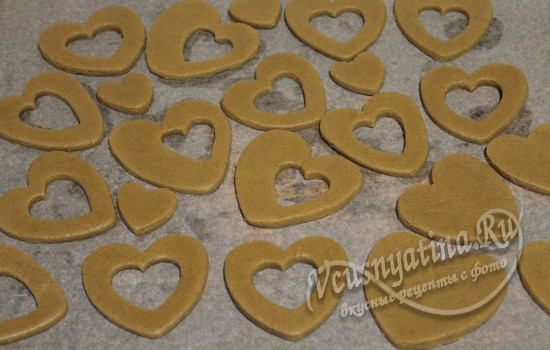
10. For the glaze, pour powdered sugar into a bowl and add chicken protein. 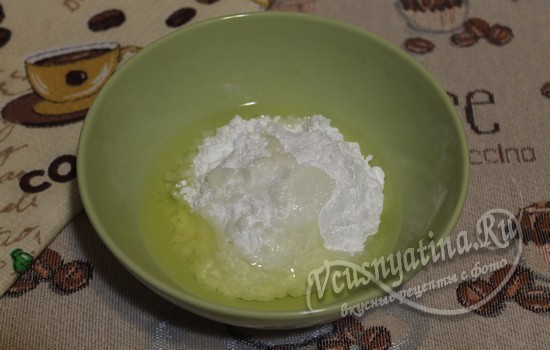
11. Beat well with a mixer, but don’t overdo it, you don’t want meringue... 2 minutes of whipping is enough. At the end of beating you can add citric acid on the tip of a knife, this will make the glaze more snow-white. But you don’t have to do this, since it will be painted later. 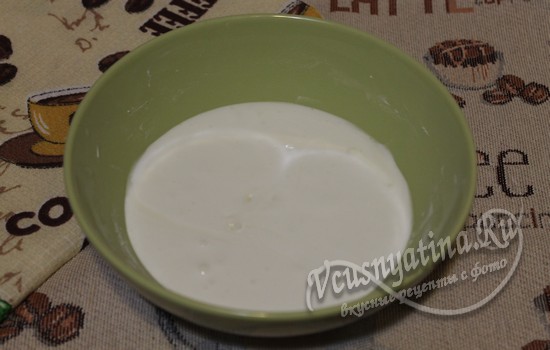
12. Divide the glaze into two equal parts. 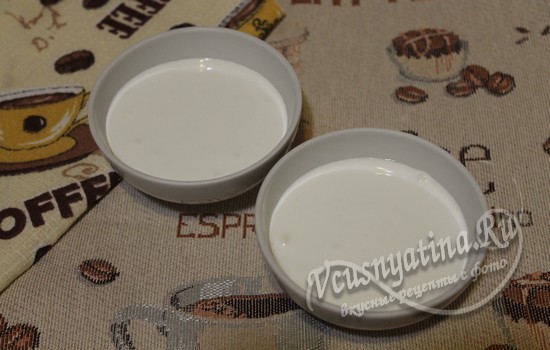
13. Color the glaze. You can choose the color for painting at your discretion. 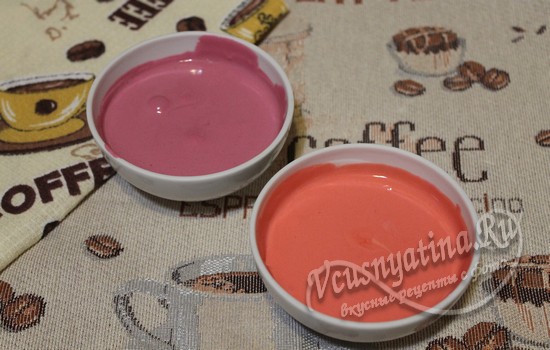
14. Transfer the glaze into pastry bags. You can make them yourself from simple plastic bags. 
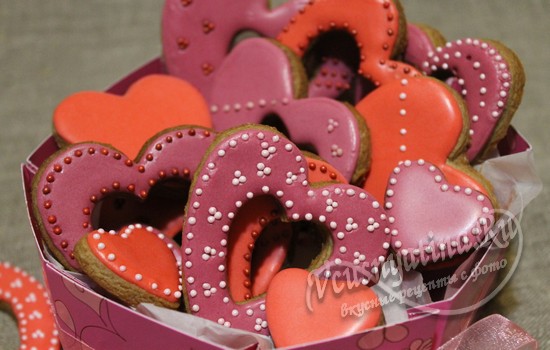
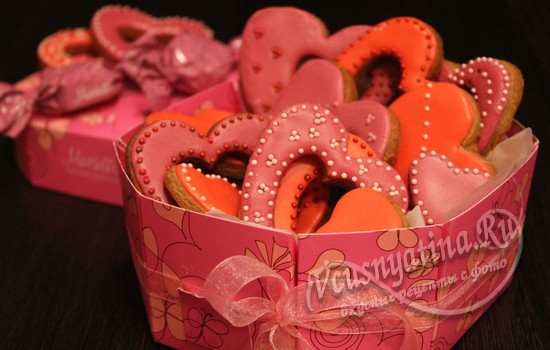
15. At this point, our heart-shaped cookies are baked and cooled. 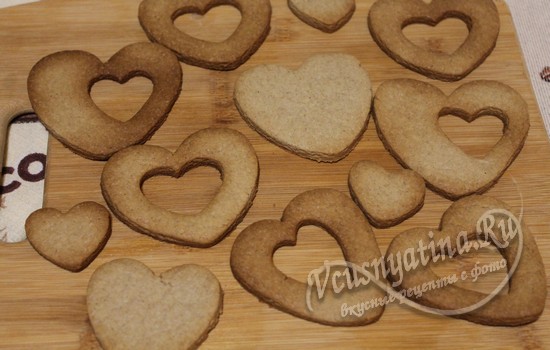
16. We begin decorating for February 14th with icing. First we trace the outline of the cookie, and then fill in the middle. The rest of the decoration will depend on your imagination. Happy Valentine's Day!